Introduction to Unity
Unity is a cross-platform game engine initially created for developing games but is now used for a wide range of things such as: architecture, art, children’s apps, information management, education, entertainment, marketing, medical, military, physical installations, simulations, training, and many more.
Unity takes a lot of the complexities of developing games and similar interactive experiences and looks after them behind the scenes so people can get on with designing and developing their games. These complexities include graphics rendering, world physics and compiling. More advanced users can interact and adapt them as needed but for beginners they need not worry about it.
Games in Unity are developed in two halves; the first half - within the Unity editor, and the second half - using code, specifically C#. Unity is bundled with MonoDevelop or Visual Studio 2017 Community for writing C#.
Monodevelop & Visual Studio 2017
While we can get so far with our game assets and animations, it’s the core mechanics and gameplay events that create the true experience for the gamer. You can have a hero and a villain character with combat animations, but without gameplay scripts, you won’t be able to move them or have them interact. We can do all of this and more by making a few simple scripts. MonoDevelop or Visual Studio 2017 is the IDE that allows you to build those runtime events and scripts for Unity. It is by far the most important of the add-ons you can install. If you are fairly new to scripting and Unity, this is a must for creating your game.
2D and 3D Games
3D
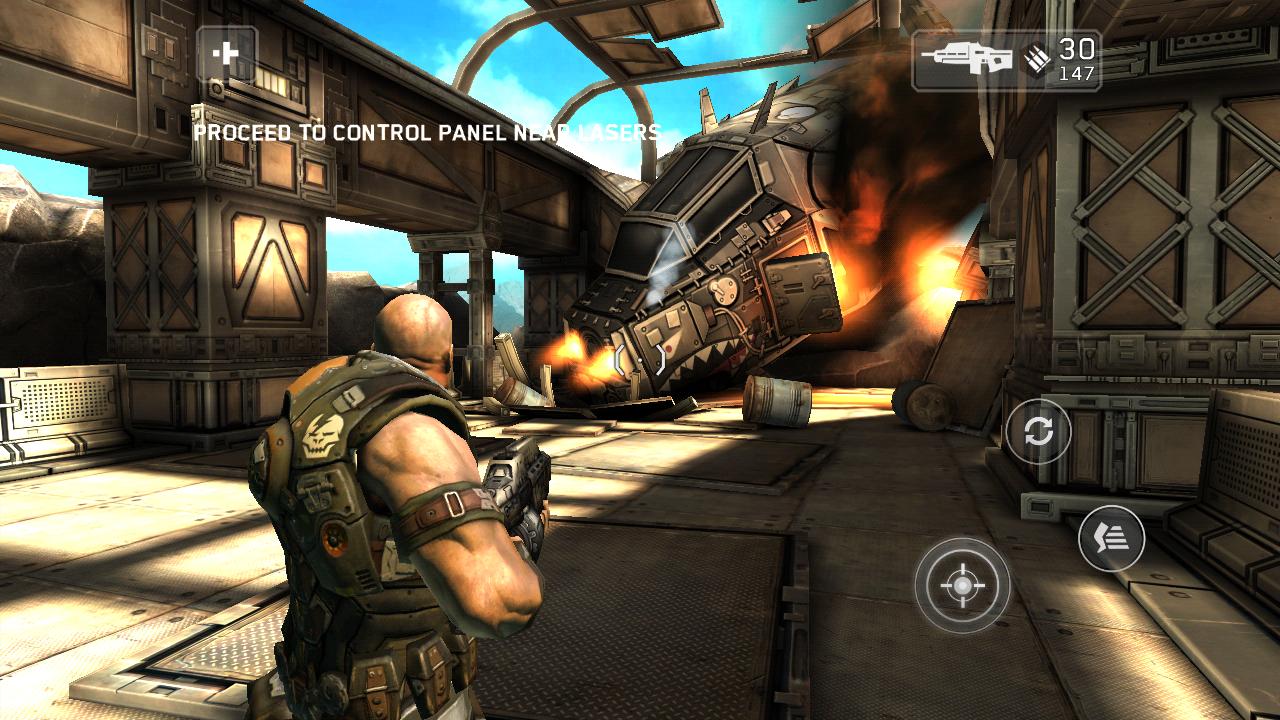
3D games usually make use of three-dimensional geometry, with materials and textures rendered on the surface of these objects to make them appear as solid environments, characters and objects that make up your game world. The camera can move in and around the scene freely, with light and shadows cast around the world in a realistic way. 3D games usually render the scene using perspective, so objects appear larger on screen as they get closer to the camera. For all games that fit this description, start in 3D mode.
Full 3D

Orthographic 3D

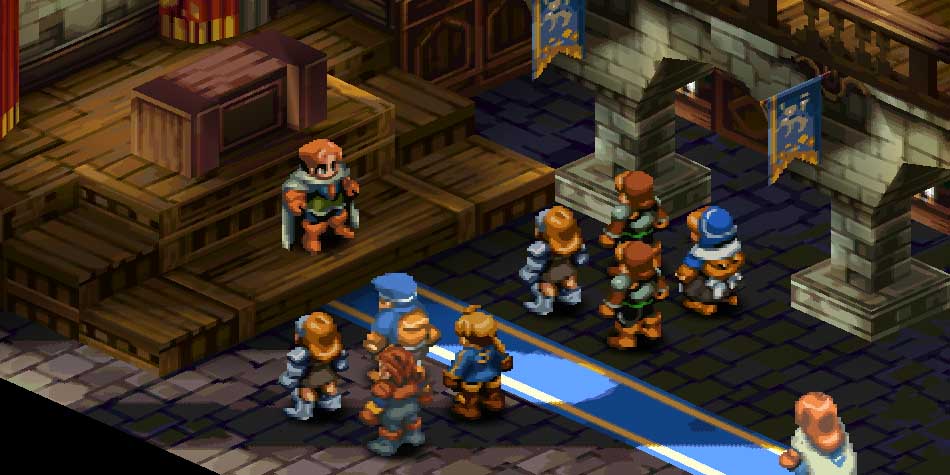
Sometimes games use 3D geometry, but use an orthographic camera instead of perspective. This is a common technique used in games which give you a bird’s-eye view of the action, and is sometimes called “2.5D”. If you’re making a game like this, you should also use the editor in 3D mode, because even though there is no perspective, you will still be working with 3D models and assets. You’ll need to switch your camera and scene view to Orthographic though.
2D
Many 2D games use flat graphics, sometimes called sprites, which have no three-dimensional geometry at all. They are drawn to the screen as flat images, and the game’s camera has no perspective. For this type of game, you should start the editor in 2D mode.
2D Gameplay with 3D Graphics
Some 2D games use 3D geometry for the environment and characters, but restrict the gameplay to two dimensions. For example, the camera may show a “side scrolling view” and the player can only move in two dimensions, but game still uses 3D models for the obstacles and a 3D perspective for the camera. For these games, the 3D effect may serve a stylistic rather than functional purpose. This type of game is also sometimes referred to as “2.5D”. Although the gameplay is 2D, you will mostly be manipulating 3D models to build the game so you should start the editor in 3D mode.
Click here for more info:

2D Gameplay with graphics, with a perspective camera
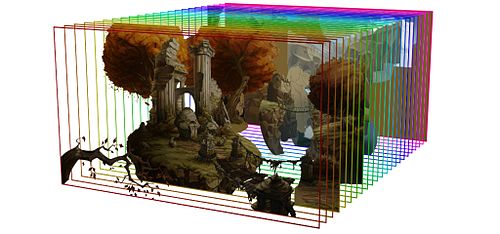
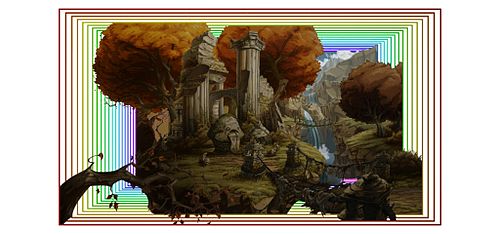
This is another popular style of 2D game, using 2D graphics but with a perspective camera to get a parallax scrolling effect. This is a “cardboard theater” style scene, where all graphics are flat, but arranged at different distances from the camera. It’s most likely that 2D mode will suit your development in this case. However, you will want to change your game camera’s projection mode to Perspective and the scene view mode to 3D.


Examples of parallax scrolling graphics:
Other Resources:
